- April 9, 2025
- ondigit3
- 0 Comments
- Social Media
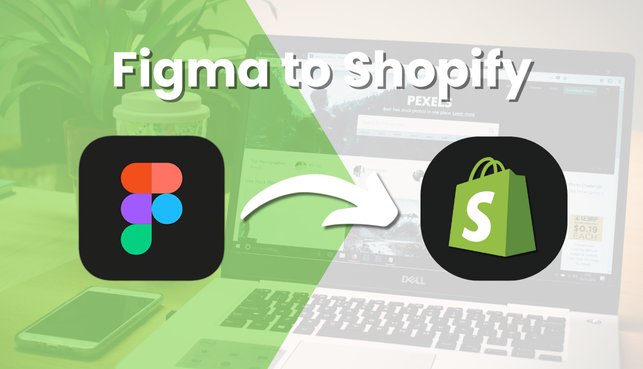
Figma to Shopify: Convert Stunning Designs into Functional Shopify Stores
From Concept to Commerce – How to Bring Your Figma Designs to Life with Shopify
Turning your Figma designs into a fully functional Shopify store is a major step toward launching your e-commerce business. Whether you’re a designer, entrepreneur, or developer, understanding how to convert Figma to Shopify effectively is essential for delivering a seamless user experience and high-performing storefront.
This blog will guide you through the process with a practical, step-by-step approach. From preparing your Figma files to launching your Shopify site, we’ll cover it all – while keeping SEO, user intent, and conversion in mind.
Why Choose Shopify for Your Figma Design Conversion?
Before diving into the technicals, it’s important to understand why Figma to Shopify are such a powerful combination:
- Shopify provides a robust and scalable platform designed for e-commerce growth.
- Figma allows designers to create responsive, pixel-perfect UI/UX with developer handoff in mind.
- Together, they allow teams to move from prototype to live store faster and more efficiently.
Step-by-Step: How to Convert Figma to Shopify
1. Finalize Your Figma Design
Ensure your design is mobile-responsive, export-ready, and aligned with your brand guidelines. Use Figma’s auto-layout and component tools to make handoff easier.
2. Slice and Export Assets
Extract images, icons, fonts, and logos from your Figma file. Organize assets in folders by type (e.g., images, SVGs, and logos).
3. Translate Design to Shopify Theme
Choose between:
- Custom theme development using Liquid (Shopify’s templating language)
- Editing an existing theme that matches your layout. Develop each section (hero, product grid, banners, CTAs) based on your Figma layout.
4. Set Up Shopify Store Structure
- Create collections and product pages
- Configure payment, shipping, and taxes
- Add navigation menus, footer links, and policy pages
5. Responsive Testing and Optimization
Ensure your design adapts beautifully across devices. Shopify’s built-in mobile optimization helps, but test everything thoroughly.
6. Launch and Track
Before launch, integrate analytics and Shopify apps. Once live, track conversions and adjust content and UX based on real-world data.
Benefits of Custom Shopify Development from Figma Designs
- Tailored shopping experience
- Better branding consistency
- Faster loading times with clean code
- Mobile-first approach
- Easy integration with Shopify apps
Whether you’re selling a single product or hundreds, a well-designed Shopify store boosts credibility and conversions.
Pro Tips to Make the Transition Smoother
- Use Figma’s Developer Handoff plugin for specs and CSS
- Maintain design system consistency (typography, buttons, spacing)
- Use Shopify CLI and Git for version control if developing themes
Optimize assets before uploading (SVG, WebP)
Need Help Bringing Your Figma Designs to Life?
Building your Shopify store from Figma requires attention to detail and technical know-how. Whether you’re starting fresh or scaling up, the right team can make the difference between a basic store and a high-converting experience.
Get a Free Consultation with Our Shopify Experts
Frequently Asked Questions
Figma is for designing. You'll need to convert the design into a Shopify theme using Liquid, HTML, CSS, and JavaScript.
If you don’t have coding experience, hiring a Shopify developer is recommended to maintain performance and SEO.
Look for expertise in Liquid, responsive design, Shopify apps, and SEO-friendly practices.
Yes, with a custom theme or Shopify’s theme editor, you can make design changes post-launch.